
How to Record Your Phone Screen Without Any App
How to Record Your Phone Screen Without Downloading a Single App
So there I was, trying to show my cousin how to use UPI payments on his new Android phone. He lives three hours away, and explaining it over a call was just not working. “Click the icon — no, the other icon — no, scroll up first…” You know how that goes.
I figured I’d just record my screen and send him the video. Simple enough. But then I made the mistake I always warn people about — I went straight to the Play Store and downloaded some “Free Screen Recorder” app. It had ads every 45 seconds, watermarked my video with their logo, and asked for access to my microphone, camera, storage, AND contacts. For a screen recorder. Right.
Then I realized — wait. My phone already has this feature built in. I just never looked for it.
That moment changed how I think about apps in general. Half the stuff we download third-party tools for is already sitting in our phone’s settings, quietly waiting to be found.
Your Phone Already Has a Screen Recorder. Seriously.
This is the thing most people don’t know, and it’s honestly a little embarrassing that phone manufacturers don’t shout about it louder. Both Android (from version 10 onwards) and iOS (from iOS 11 onwards) have native, built-in screen recording. No downloads. No permissions nightmares. No watermarks.
Let me walk you through both, and then I’ll share some things I learned the hard way.
On Android: It’s in the Quick Settings
Most Android phones — whether it’s a Samsung, OnePlus, Realme, Redmi, Oppo, or a stock Android device — have a screen recorder in the Quick Settings panel. That’s the panel you pull down from the top of your screen.
Here’s how to find and use it:
Step 1 — Pull down the notification shade twice. Once to see your notifications, and a second swipe to expand the full Quick Settings tiles. You’ll see icons for things like Wi-Fi, Bluetooth, airplane mode, etc.
Step 2 — Look for “Screen Recorder.” On some phones it’s visible right away. On others, you’ll need to tap the edit button (usually a pencil icon or “Edit” text) to add it to your panel.
Step 3 — Tap it to start. Most phones give you a small popup before recording begins asking:
- Whether to record audio (internal sound, mic, or no audio)
- Whether to show touches on screen (useful for tutorials)
Step 4 — Hit Record. There’s usually a 3-second countdown, and then you’re live.
Step 5 — Stop recording by pulling down the notification shade again and tapping the stop button, or tapping the floating stop icon some phones show on screen.
Your video saves automatically to your gallery under a folder called “Screen Recordings” or something similar.
Samsung-Specific Note
Samsung phones (Galaxy S and A series) have one of the most polished built-in screen recorders out there. You get options for video resolution and whether to record selfie-cam footage in the corner — which is actually great for reaction-style content. Find it in Quick Settings under “Screen Recorder.” Samsung also lets you draw on the screen while recording, which I find surprisingly useful for explaining things.
Xiaomi / Redmi / MIUI Note
On MIUI phones, the Screen Recorder is tucked inside the floating sidebar or in Quick Settings. One quirk — it sometimes doesn’t show audio from certain apps like Spotify due to app restrictions. That’s not a bug you did anything wrong, it’s just how audio routing works on those builds.
On iPhone: Control Centre is Your Best Friend
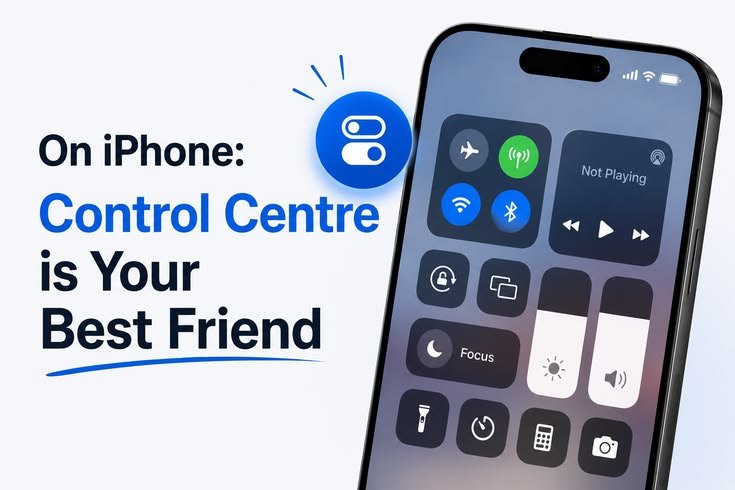
Apple added screen recording to iPhones with iOS 11 back in 2017, but a lot of people still don’t know it exists because you have to manually add it to your Control Centre.
Here’s exactly how to do it:
Step 1 — Open Settings → Control Centre. Scroll down and find “Screen Recording” in the list of available controls.
Step 2 — Tap the green + button next to it. That adds it to your Control Centre.
Step 3 — Swipe down from the top-right corner (on Face ID iPhones) or up from the bottom (on older Touch ID models) to open Control Centre.
Step 4 — Tap the Screen Recording button — it looks like a solid circle inside a circle. A 3-second countdown appears, and then recording starts.
Step 5 — To stop, tap the red bar at the top of your screen and confirm, or go back to Control Centre and tap the button again.
The video saves to your Photos app under “Recents” and “Screen Recordings.”
Want to record with your own voice narrating? Long-press the Screen Recording button in Control Centre, and you’ll see an option to enable the microphone. Handy for tutorials.
What About Audio? Here’s Where It Gets Tricky
This is something I had to figure out through trial and error, so let me save you that headache.
Recording your own voice: Both Android and iPhone support this natively. On Android, select “Microphone” as the audio source before starting. On iPhone, long-press the record button and toggle the mic on.
Recording in-app sounds: This works for most apps — games, YouTube videos, notification sounds — using the system/internal audio option on Android. On iPhone, internal audio from the device is recorded by default unless the app specifically blocks it.
Recording from apps like Netflix or Spotify: Here’s the frustrating part — these apps use DRM (Digital Rights Management) which actively blocks screen recording. On Android, you’ll see a black screen. On iPhone, the video saves but the protected content appears blank. This isn’t your phone being broken. It’s intentional. There’s no clean workaround without voiding terms of service, so I’d just leave that one alone.
PC/Mac Option: Use Your USB Cable
Sometimes the best screen recording method isn’t on the phone at all.
If you’re on a Mac and have an iPhone, just plug in via USB (or use AirPlay with QuickTime), open QuickTime Player, go to File → New Movie Recording, click the dropdown arrow next to the record button, and select your iPhone as the camera source. Boom — you’re recording your iPhone screen directly on your Mac, in HD, with no lag.
For Android on PC, Android Studio has a built-in screen recorder. It’s a bit of overkill if you’re not a developer, but it works. There’s also the phone mirror feature built into Windows 11, which lets you cast and record your phone screen from your PC.
Common Mistakes I’ve Seen (and Made Myself)
Forgetting to enable microphone before recording. I’ve done full 5-minute tutorial recordings only to realise there was zero audio. Always check your audio settings before you hit record.
Running out of storage mid-recording. Screen recordings eat up space fast — especially at higher resolutions. A 10-minute recording at 1080p can be 500MB+. Clear some storage before long sessions.
Recording sensitive notifications. Your notifications pop up during recording. I once sent a friend a tutorial video not realising my banking OTPs and a mildly embarrassing WhatsApp notification were visible. Enable Do Not Disturb before you start.
Touching the stop button by accident. On some Android phones, the floating stop icon is right where you’d naturally tap. Practice ending your recording intentionally, not accidentally.
Quick Recap: When to Use What
- Short tutorial for a friend? Built-in screen recorder, phone-only, quick and clean.
- Recording gameplay? Native recorder handles this well on both Android and iOS.
- Professional video with voiceover and editing? Record natively, edit in CapCut or iMovie — no need for a separate recording app.
- Recording your iPhone screen in high quality for YouTube? QuickTime on Mac is genuinely the smoothest option.
- Android to PC mirroring and recording? Windows 11 Phone Link or Android Studio.
The App Store Isn’t Always the Answer
I think we’ve been conditioned to reach for the app store the moment we want to do anything new on our phone. But honestly, the more I explore native phone features, the more I realise how much is already there — hidden inside settings panels and quick access menus.
Screen recording is just one example. There’s also document scanning, background noise removal during calls, live translation, focus modes, and a lot more that doesn’t need a third-party app at all.
So next time you’re about to download something, spend two minutes checking if your phone already does it. You might be surprised — and you’ll definitely keep your phone cleaner, faster, and a bit more private.
Now go record that tutorial your friend has been waiting for. No watermarks, no ads, no unnecessary permissions. Just your screen, your voice, and your phone doing what it was already built to do.


